HP CLOUD RECOVERY PERFORM IN LAPTOP DESKTOP AND ALL IN ONE PC
Use the recovery boot device that you created using the HP Cloud Recovery Tool to recover your system.- Back up your personal files if you have not already done so. Go to HP PCs - Backing Up Your Files (Windows 10, 8) or HP PCs - Backing Up Your Files (Windows 7) for more information.
- Disconnect all connected devices and cables such as Personal Media Drivers, USB drivers, printers, or faxes.
- Remove media from internal drives and remove any recently added internal hardware.
NOTE: Keep the monitor, keyboard, mouse, and power cord connected to the computer.
- Insert the USB boot device that you created, and then turn off the computer.
- Turn on the computer, and then immediately press the Esc key repeatedly, about once every second, until the Startup Menu opens.
- Press the F9 key to open Boot Device Options.
- Use the up or down arrow keys to select the USB drive, and then press Enter.
NOTE: More than one USB drive might be available from the list of devices. If so, select one of the USB drive options from the list to see if HP Recovery starts. If recovery does not start or a non-system disk error displays, restart the computer by pressing the power button, and then repeat these steps to select another USB drive. When recovery starts, continue with these steps to complete recovery. If you cannot select the recovery media drive from the Boot Menu, disable Secure Boot and enable Legacy Mode in the BIOS.
- When prompted to run Recovery Manager from the hard drive or from media, select Run program from media, and then click Next.
- Select a language, and then click OK.
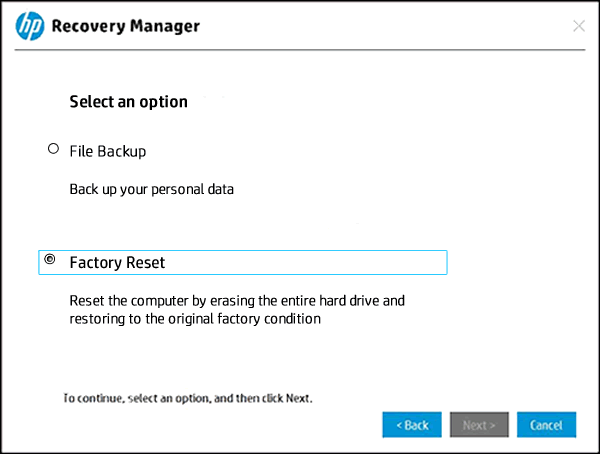
- Select Factory Reset, and then click Next.
- On the Welcome screen, click Next.
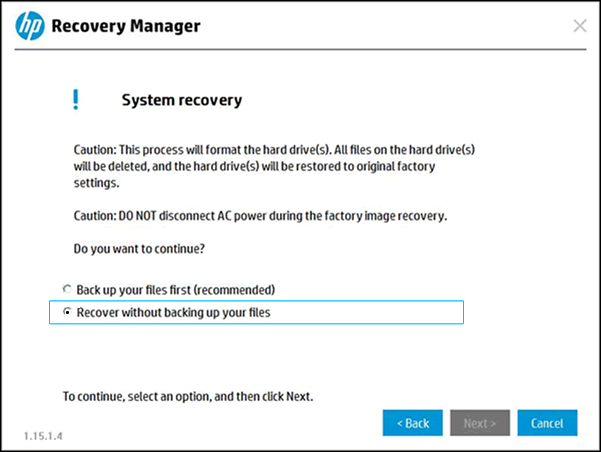
- Select Recover without backing up your files, and then click Next.
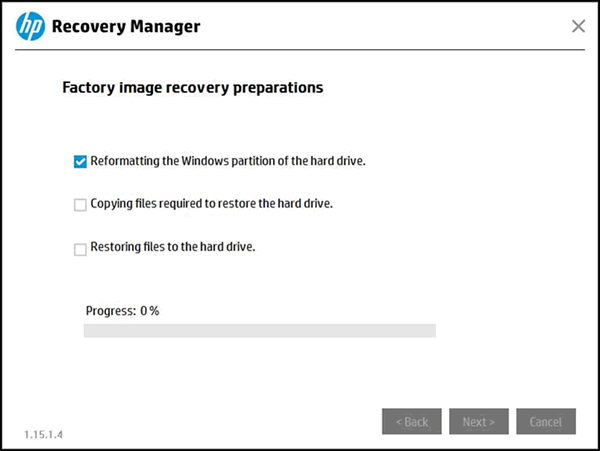
- Wait while HP Recovery Manager prepares the computer for recovery and copies the files to the hard drive.
- Click Skip when asked if you received a supplemental recovery USB drive from HP Support.
- Click Continue when the recovery preparation completes.
CAUTION: Do not stop the process while the Windows partition is being reformatted and the files to restore the hard drive are being copied.
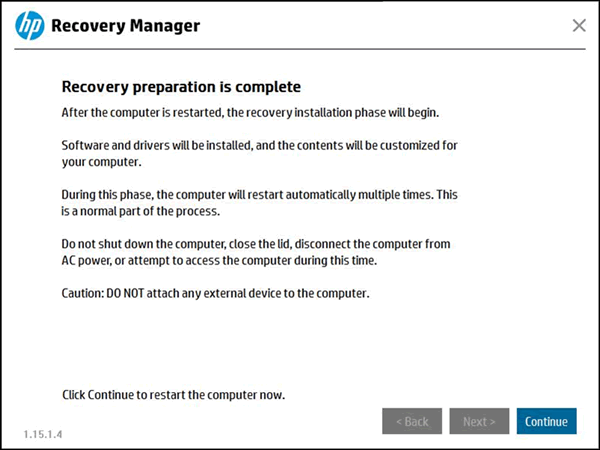
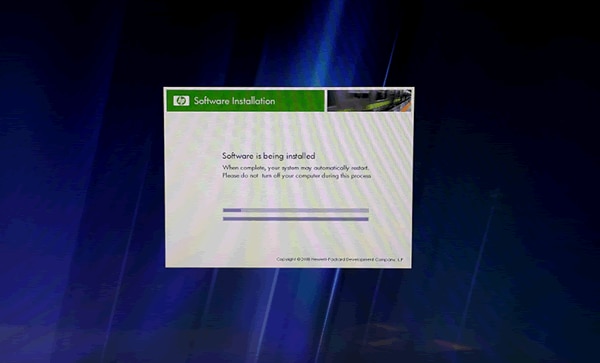
- Do not remove the USB flash drive or turn off your computer during this process. The computer might go through several Software Installation screens, including black screens with the HP logo, Windows system screens, and Admin screens. This is normal.
NOTE: The recovery process might take several hours to complete depending on the system configuration of your PC.
- After the recovery completes, click Finish to restart the system.
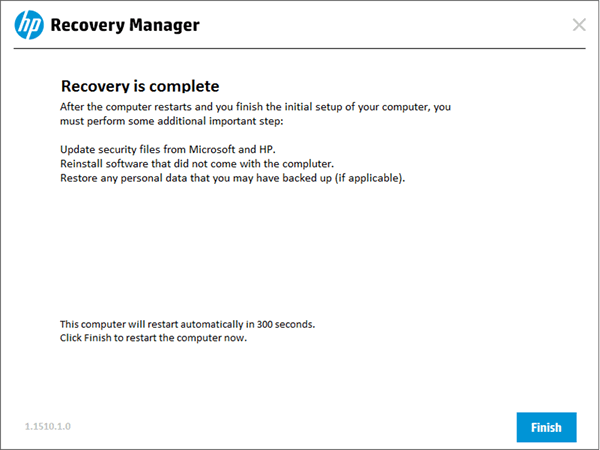
- You can remove the USB flash drive after the PC initial setup begins
Use the recovery boot device that you created using the HP Cloud Recovery Tool to recover your system.
- Back up your personal files if you have not already done so. Go to HP PCs - Backing Up Your Files (Windows 10, 8) or HP PCs - Backing Up Your Files (Windows 7) for more information.
- Disconnect all connected devices and cables such as Personal Media Drivers, USB drivers, printers, or faxes.
- Remove media from internal drives and remove any recently added internal hardware.
NOTE:
Keep the monitor, keyboard, mouse, and power cord connected to the computer. - Insert the USB boot device that you created, and then turn off the computer.
- Turn on the computer, and then immediately press the Esc key repeatedly, about once every second, until the Startup Menu opens.
- Press the F9 key to open Boot Device Options.
- Use the up or down arrow keys to select the USB drive, and then press Enter.
NOTE:
More than one USB drive might be available from the list of devices. If so, select one of the USB drive options from the list to see if HP Recovery starts. If recovery does not start or a non-system disk error displays, restart the computer by pressing the power button, and then repeat these steps to select another USB drive. When recovery starts, continue with these steps to complete recovery.If you cannot select the recovery media drive from the Boot Menu, disable Secure Boot and enable Legacy Mode in the BIOS. - When prompted to run Recovery Manager from the hard drive or from media, select Run program from media, and then click Next.
- Select a language, and then click OK.
- Select Factory Reset, and then click Next.
- On the Welcome screen, click Next.
- Select Recover without backing up your files, and then click Next.
- Wait while HP Recovery Manager prepares the computer for recovery and copies the files to the hard drive.
- Click Skip when asked if you received a supplemental recovery USB drive from HP Support.
- Click Continue when the recovery preparation completes.
CAUTION:
Do not stop the process while the Windows partition is being reformatted and the files to restore the hard drive are being copied. - Do not remove the USB flash drive or turn off your computer during this process. The computer might go through several Software Installation screens, including black screens with the HP logo, Windows system screens, and Admin screens. This is normal.
NOTE:
The recovery process might take several hours to complete depending on the system configuration of your PC. - After the recovery completes, click Finish to restart the system.
- You can remove the USB flash drive after the PC initial setup begins


No comments:
Post a Comment